Turn to the first page of the Whiteboard by clicking the First Page button on the page navigator controls. Make sure the microphone is connected and ready to use.
Click the red Record button on the recording controls and say "Hi! This is a message I made with eMail inChorus."
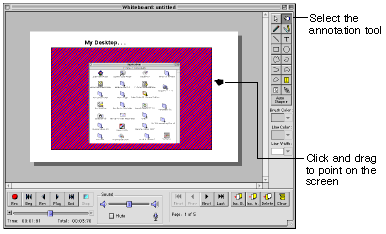
With the recording still going, click the Annotation tool on the drawing toolbar. Click and drag slowly to "point" at the screen capture on the Whiteboard, while saying, "I can send screen images of anything on my computer and use an annotation tool to point out the things I am talking about."

To finish off your message, click the Next Page button on the page navigator to display page two of the Whiteboard and say, "How did you like this message? Don't you think you should get eMail inChorus, too?"
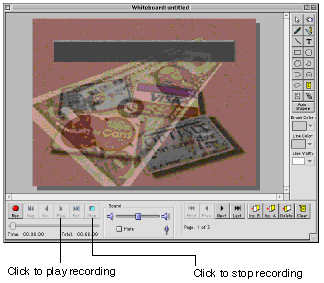
Click the Stop button on the recording controls. To play the message, click the Play button.

Select Send from the File menu.